Buyer Admin documentation
Free Format Module
Contract Module
Buyer Admin: Introduction to the Contract Module
Buyer Admin: How do I create a local contract?
Buyer Admin: How do I approve a Framework?
Buyer Admin: How do I manage data within a live local contract?
Buyer Admin: How do I approve or reject Local Contracts?
Buyer Admin: How do I bulk upload local contracts to the Contract Module?
Buyer Admin: Contract Spend Analysis
Bring your own BI (BYOBI)
The Purchasing Homepage and Administration Interface
Buyer Admin: How can I customise the Homepage for my organisation?
Buyer Admin: How do I create a Marketplace News article?
Buyer Admin: Introduction to the Administration interface
Workflow Editor
End User Management
Buyer Admin: Insights - How do I give access to users?
Buyer Admin - How do I deactivate a user's account?
Buyer Admin: How do I re-activate a user?
Buyer Admin - Can I update a user's name if their name changes?
Buyer Admin - How do I create new end user accounts (basket punchout)?
Sustainability (ESG) Module
Buyer Admin: An introduction to Sustainability Data on Purchasing
Buyer Admin: Sustainability - Reporting on the ESG Insights Dashboard
Buyer Admin: How do I map sustainability attributes (supplier and global)?
Buyer Admin: How do I create my own organisation specific sustainability attributes for suppliers?
Buyer Admin: How do I approve a supplier level Global Sustainability Attribute?
Supplier Catalogue Management
Buyer Admin: Price Approval - How do I approve or reject a price file?
Buyer Admin: The Supplier Onboarding Module (SIM) overview
Buyer Admin: How do I connect with a supplier on my Purchasing marketplace?
Buyer Admin: How do I bulk invite suppliers to my Purchasing marketplace?
Buyer Admin: How do I make a hidden catalogue visible again?
Buyer Admin: How do I hide an entire supplier's catalogue?
Buyer Admin: How do I export a supplier catalogue?
Buyer Admin: How do I mark an entire supplier catalogue as 'Preferred'?
Buyer Admin - How can I change an item's visibility or status?
Buyer Admin: How do I enable/disable a marketplace supplier in Free Format?
Supplier documentation
Managing catalogue data on the Supplier Portal
Supplier: How do I complete the OneAdvanced data templates?
Supplier: How do I upload my products?
Supplier: How do I add delivery charges to my catalogue?
UNSPSC Version Update Guide
Supplier: How do I hide a product from a buyer(s)?
Supplier: How do I amend catalogue pricing?
Supplier: How do I upload PDF documents to my products?
Supplier: How do I maintain leading zeros on a .csv download?
Supplier: How do I create new products individually?
Supplier: How do I export my catalogue?
Supplier: eClass codes
Supplier: How do I approve a price file?
Supplier: Catalogue Management tab - What does each file status mean?
Supplier: How do I upload images to my catalogue?
Supplier: How do I provide catalogue pricing?
Supplier: How do I delete products from my catalogue?
Supplier: Catalogue Management tab: How do I use the filtering options
Supplier: How do I edit my product data?
Supplier: Why has my price file failed?
Supplier: How do I amend a catalogue number?
Trader suppliers
Search and product visibility
Supplier: How do my products appear on Purchasing?
Supplier: The Purchasing Search: An overview for suppliers
Supplier: How do I find out if a product is currently visible to my buyers?
Contract Module
Supplier: Introduction to the Contract Module
Supplier: How do I update an active contract?
Supplier: Contract spend analysis
Supplier: How do I export contract data from the Contract Module?
Supplier: How do I activate a framework contract?
Supplier: How do I set up a local contract?
Sustainability Module
Supplier: An introduction to managing sustainability data
Supplier: How do I tag my products with sustainability attributes (Global and Supplier)?
Supplier: How do I tag my organisation against a global sustainability attribute?
Supplier: How do I create and manage supplier sustainability attributes?
Supplier: How can I see which of my products have sustainability attributes already assigned?
Supplier: How do I remove a sustainability attribute from my data?
Supplier: Sustainability - Reporting on the ESG Insights Dashboard
eQuotes
Insights reporting
Supplier Insights: Categorisation (UNSPSC) Dashboard
Supplier: How can I view Insights reports?
Supplier Insights: On and Off Catalogue Orders
Orders and Invoices
Supplier: Purchase Orders
Supplier: How do I resend a rejected e-invoice?
Supplier: PO flip invoicing and Credit Notes
Supplier: How can I review any invoice rejections?
Updating my profile
Buyer End User documentation
Buyer User Guide: How do I use the eQuotes module?
Buyer User Guide: How do I configure my Homepage?
Buyer User Guide: End User (eReqs and basket workflow users only): Multi Factor Authentication for logins
Buyer User Guide: How do I 'favourite' a product?
Buyer User Guide: How do I search for sustainable products?
Buyer User Guide: How do I create and use Saved Baskets?
Buyer User Guide: How do I download a PDF copy of my Purchase Order?
Buyer User Guide: The Purchasing Homepage
Buyer User Guide: How do I raise a free text order?
Supported Frameworks
Buyer Insights: On and Off Catalogue Orders
Buyer User Guide: Searching on the Purchasing marketplace
Buyer User Guide: How do I customise Insights on the homepage?
Release Notes & Product Roadmap
Release Notes
2026
2026-07-09 Release Notes
2026-06-25 Release Notes
2026-03-19 Release Notes
2026-03-10 Release Notes
Q1 & Q2- Product Roadmap Update
2026-01-22 Release Notes
2026-01-08 Release Notes
2025
2025-12-11 Release Notes
2025-11-13 Release Notes
2025-10-16 Release Notes
2025-08-21 Release Note
2025-07-24 Release Notes
2025-07-10 Release Notes
2025-06-26 Release Notes
2025-05-30 Release Notes
2025-05-01 Release Notes
2025-04-04 Release Notes
2025-03-20 Release Notes
2025-03-06 Release Notes
2025-02-20 Release Notes
2024
2024-10-31 Release Notes
2024-10-17 Release Notes
2024-10-03 Release Notes
2024-09-05 Release Notes
2024-07-18 Release Notes
2024-06-20 Release Notes
2024-06-06 Release Notes
2024-05-23 Release Notes
2024-05-09 Release Notes
2024-04-18 Release Notes
2024-02-22 Release Notes
2024-01-18 Release Notes
2023
2023-12-11 Release Notes
2023-11-23 Release Notes
2023-11-09 Release Notes
2023-10-26 Release Notes
2023-10-12 Release Notes
2023-09-28 Release Notes
2023-08-30 Release Notes
2023-08-17 Release Notes
2023-08-03 Release Notes
2023-07-06 Release Notes
2023-06-22 Release Notes
2023-06-07 Release Notes
2023-05-24 Release Notes
2023-05-11 Release Notes
2023-04-27 Release Notes
2023-04-13 Release Notes
2023-03-30 Release Notes
2023-03-16 Release Notes
2023-03-02 Release Notes
2023-02-16 Release Notes
2023-02-02 Release Notes
2023-01-19 Release Notes
2022
2022-12-08 Release Notes
2022-10-13 Release Notes
2022-08-18 Release Notes
2022-08-04 Release Notes
2022-07-07 Release Notes
2022-06-23 Release Notes
2022-06-09 Release Notes
2022-05-26 Release Notes
2022-04-28 Release Notes
2022-03-03 Release Notes
2022-02-17 Release Notes
2022-01-13 Release Notes
2021
2021-11-25 Release Notes
2021-10-14 Release Notes
2021-09-30 Release Notes
2021-09-14 Release Notes
2021-09-11 Release Notes
2021-09-02 Release Notes
2021-08-19 Release Notes
2021-08-05 Release Notes
2021-07-22 Release Notes
2021-07-08 Release Notes
2021-06-24 Release Notes
2021-06-17 Release Notes
2021-05-27 Release Notes
2021-04-08 Release Notes Amendments Service
2021-03-04 Release Notes
2021-02-04 Release Notes
2021-01-21 Release Notes
2020-12-17 Release Notes
Product Roadmap
Marketplace (Purchasing) Video Content
Video - Purchasing Overview Project v1
Video - Saved Baskets and Favourites
Video - eOligo Module
Video - eServices Module
Video - Managing Internal Catalogues
Video - eQuotes
Video - Free Format
Video - eCatalogue Overview
Video - Supplier Insights
Video - Basket Workflow
Video - eFinancials Integration.mp4
Video - Punchouts
Video - Contract Management
Video - PO Flip eInvoicing
Video - Price Approval
Video - eRequisitions
Video - Sustainability Module - Buyers and Suppliers
Video - Buyer Insights
Logging into the Purchasing Marketplace
Buyer Admin: Accessing locked admin log-ins (including forgotten password)
Supplier: Multi Factor Authentication when logging in
Supplier: How do I request a new supplier portal login to be created?
Buyer Admin - How do I access my admin account?
Setting up MFA in Google Chrome Extension
Supplier: How do I reset my Purchasing account password?
Buyer Admin: Multi Factor Authentication for logins
Inactive User Account - How can I reactivate my marketplace login?
Setting up MFA in Microsoft Authenticator and Removing an Existing QR code
MFA Browser Extensions
- All Categories
- Supplier documentation
- Sustainability Module
- Supplier: How do I create and manage supplier sustainability attributes?
Supplier: How do I create and manage supplier sustainability attributes?

This guide covers how to firstly create and then manage a supplier sustainability attribute:
- How do I create a supplier attribute?
- How do I edit, move or delete a supplier created attribute?
- How do I temporarily hide a supplier attribute?
In addition to the globally available attributes managed by OneAdvanced, you can create your own attribute definitions (i.e. ones that would only ever be used by your supplier organisation). These would be used, for example, if you have an overall 'green choice' sustainability label for your products.
If you are looking to mark your company as being part of a Global Attribute please follow the guide here: How do I tag my organisation against a global sustainability attribute?
If you have already created a supplier attribute and now need to tag your products to it, please follow the guide here: How do I tag my products with sustainability attributes (Global and Supplier)?
How do I create a supplier attribute?
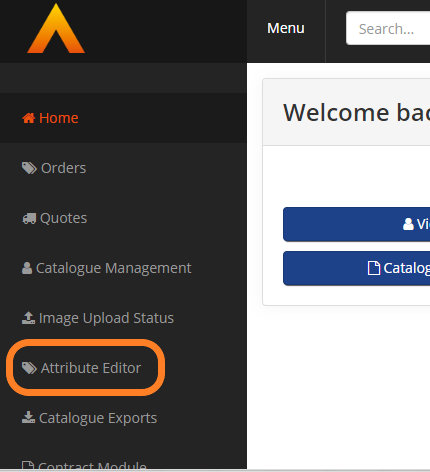
- From the supplier portal, go to the Attribute Editor tab:
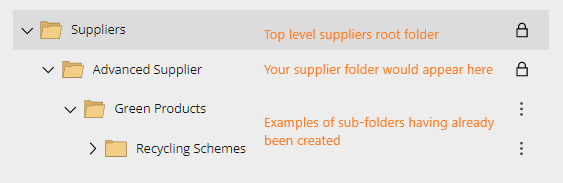
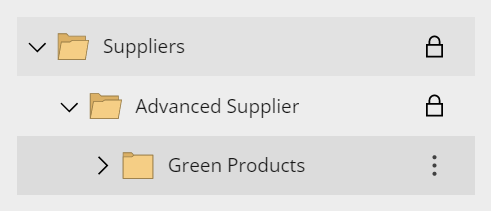
- Locate the folder you wish to create either an attribute or a sub-folder for and click into it. This might be your company's named folder (always found directly under the 'Suppliers' folder), or a sub-folder that has already been created.
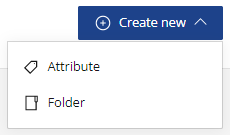
- In the top right hand corner, click the blue Create new dropdown button, and select from Attribute or Folder:
- Attribute - to create the new attribute
- Folder - this allows you to create a sub-folder under your Supplier main folder. This isn't a mandatory option but is there if you would prefer to order or group your Attributes. If you need to do this first please see below guidance before moving to step 4.
How to create a sub-folder
2) Click the blue Create new button
3) Click Folder
4) Add a Folder Name
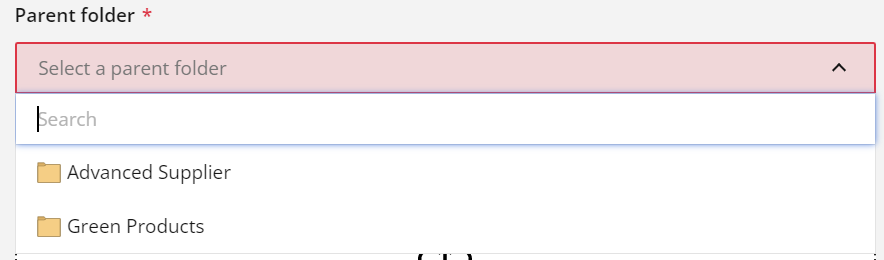
5) Choose a parent folder from the dropdown of available folders (these will only be your own folders)
6) Add a description
7) Click Create Folder
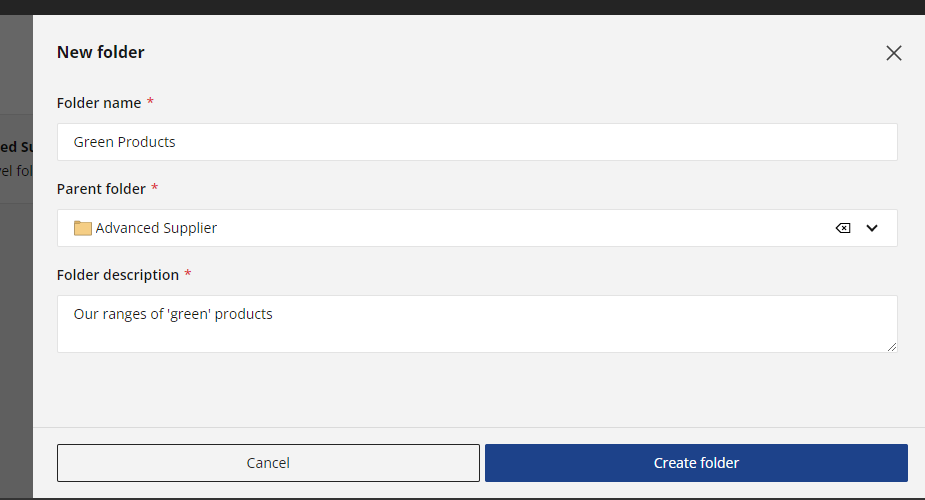
8) The folder will instantly be created and will appear in the main hierarchy (in the position chosen).
- Complete the New Attribute pop-up:
- Attribute name: the full name of the attribute
We would recommend including your supplier name as part of the Attribute name each time so that buyers can easily locate your mappings within their Attribute Editor e.g. OneAdvanced Recyclable Packaging- Attribute short name: A short version of the name. This is used as the header name in your catalogue product data files to identify a column for items to be tagged with this attribute so something simple but clear is ideal.
Ensure the short name contains no spaces, and only alphanumeric characters (i.e. not / _ # - etc.). For example 'Recyclable Packaging' wouldn't be accepted due to the space between the words, but 'RecyclablePackaging' would.- Parent folder: Select a folder from the dropdown that you wish for the attribute to sit under. If you cannot see the folder you are looking for, it may be that you haven't completed step 2 (clicking into the folder you wish to assign the attribute under before clicking 'create new')
- Upload image: An associate icon or logo for this attribute (optional)
- Attribute description: A description of what the attribute is
- Attribute URL: A link to an external website that provides more information about this attribute (optional)
- Ensure you tick the 'For use with products' box as this will allow you to begin to tag items with this attribute straight away.
If you don't wish for the attribute to be 'live' straight away, you can leave this box blank, but you will need to return to add it in before tagging any items. As soon as this box is ticked buyers can see the attribute in their module and add it to their mappings (even if no products have been assigned yet). - Click the Create Attribute button. You will see the attribute straight away in the module, like the 'Recycling Packaging' attribute example here:
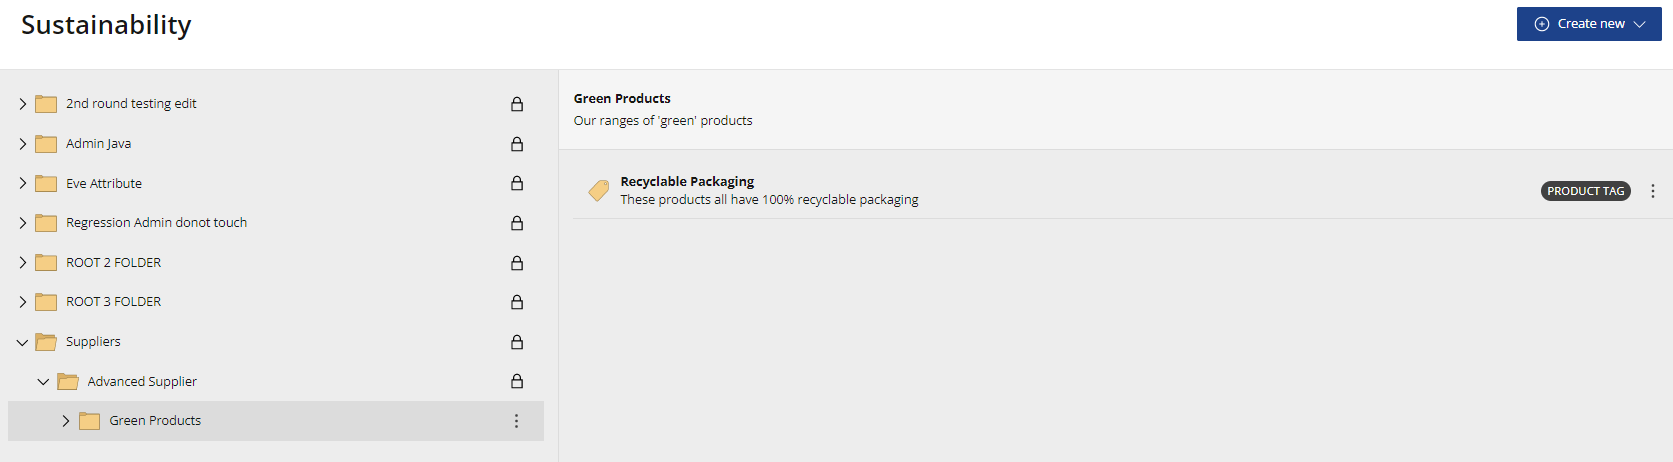
- The attribute will also immediately become visible for your buyer organisations in their Attribute Manager. However, it will only become visible against products (i.e. visible to end-users) once items have been tagged against it. Next Step: Go to How do I tag my products with sustainability attributes (Global and Supplier)?
How do I edit, move or delete a supplier created attribute?
To amend an existing supplier attribute, locate the attribute in question within the module, and click the three dot menu option on the right hand side:
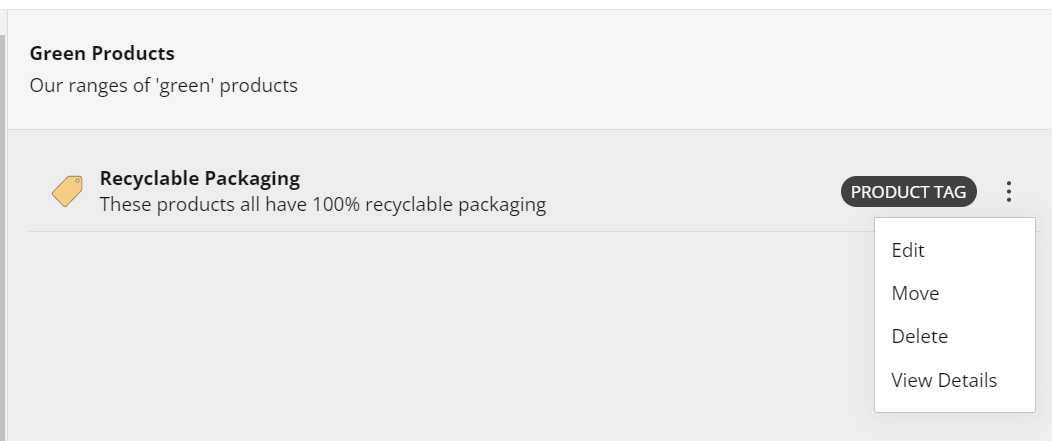
- Click Edit to amend any of the core information about the attribute (such as the description, URL etc.). As well as amending all of the existing information you provided, the edit functionality also offers you the ability to 'Archive' a supplier attribute. Please see the 'How do I temporarily hide a Supplier Attribute' section below for more information.
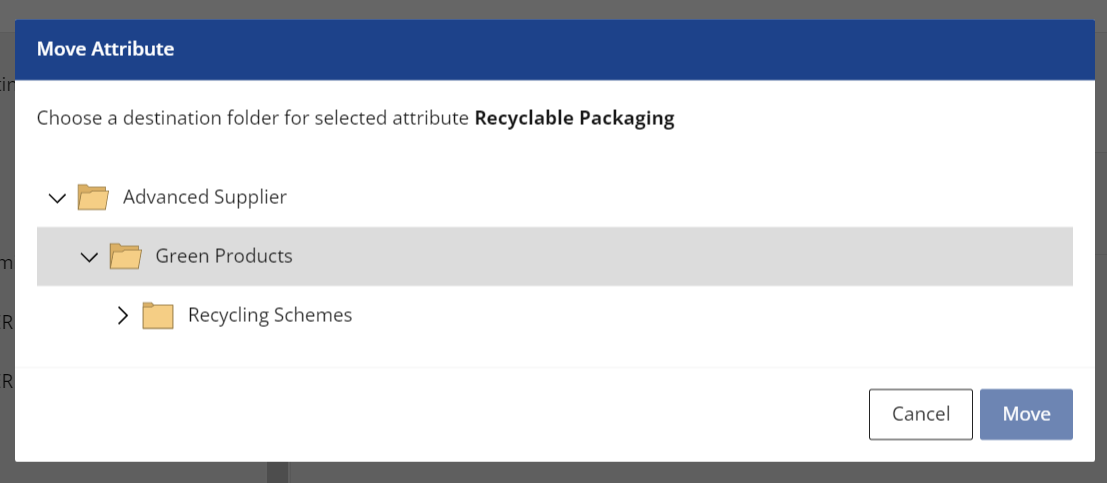
- Click Move to relocate the attribute to a different sub-folder under your Supplier folder. Pick from the relevant file in the pop-up before clicking Move to confirm:
- Click Delete to permanently remove the supplier attribute from the system, and any product tags associated with it.
- Click View Details to see information about the attribute as it would be seen by end-users / procurement officials.
How do I temporarily hide a Supplier Attribute?
The system allows you to hide a supplier attribute from view of your buyers as well as preventing any further tags being assigned to products. This option is perfect if you wish to potentially bring the attribute back at a future date as any existing tags to products can be brought back instantly as soon as you remove the attribute from Archive status. To achieve this:
- Locate the Supplier Attribute in question within the Attribute Editor
- Click the three dot menu option on the right hand side and select Edit
- Tick the Archived button
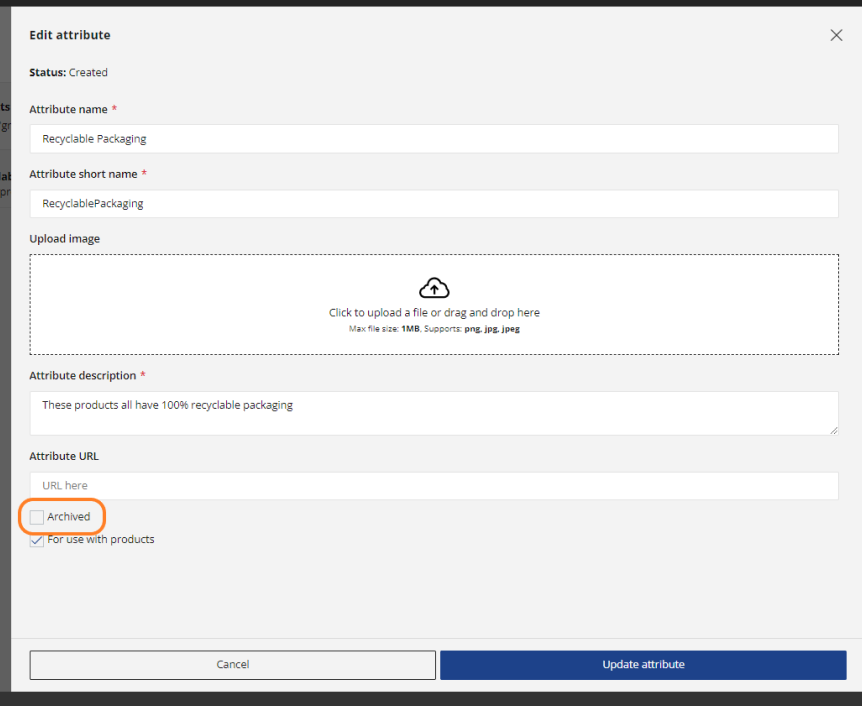
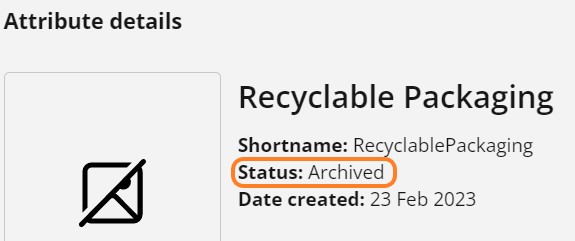
- Click Update attribute. This will instantly hide the Attribute and any tags associated with it from the Purchasing system (i.e. procurement and end-users will no longer have visibility). You can check the 'Status' of an attribute by clicking the View Details button in the three dot menu dropdown:
- To reactivate a Supplier Attribute, follow the same steps outlined above and simply untick the Archived box.