Table of Contents
Buyer Admin: How do I connect with a supplier on my Purchasing marketplace?

This guide covers how to use our Supplier Onboarding Module (SIM) to invite suppliers to trade on your Purchasing marketplace.
The steps you need to take depend on whether the supplier is already part of our network.
How To Access Supplier Onboarding (SIM)
To access the Supplier Onboarding Module, from the Purchasing homepage click on the Supplier Onboarding (SIM) link in the top right hand corner:

This will open a new tab in your browser.
How to check which suppliers are on the OneAdvanced Supplier Network
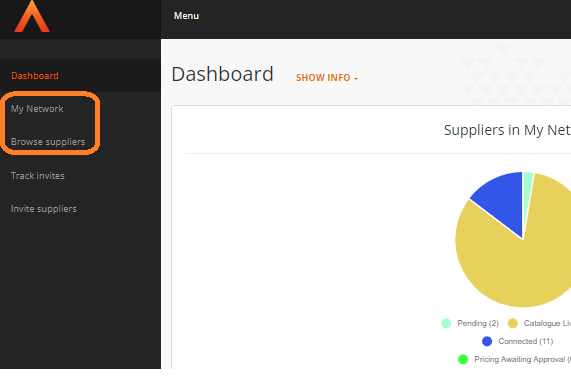
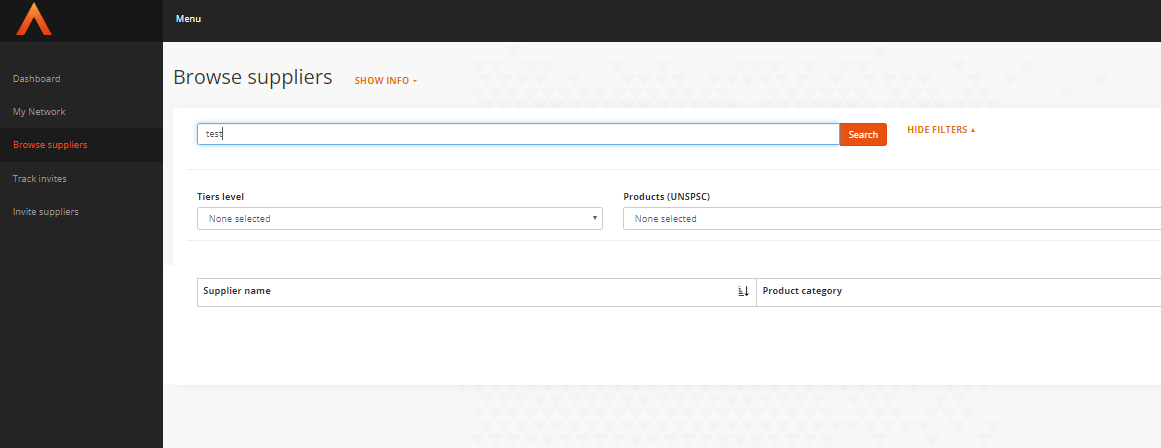
- From the SIM homepage, select My Network and Browse suppliers to check whether the supplier you are interested in is already part of our supplier network:
- My Network: shows all suppliers to whom you are already connected.
- Browse suppliers: shows all suppliers in our supplier network but to whom you are not yet connected.
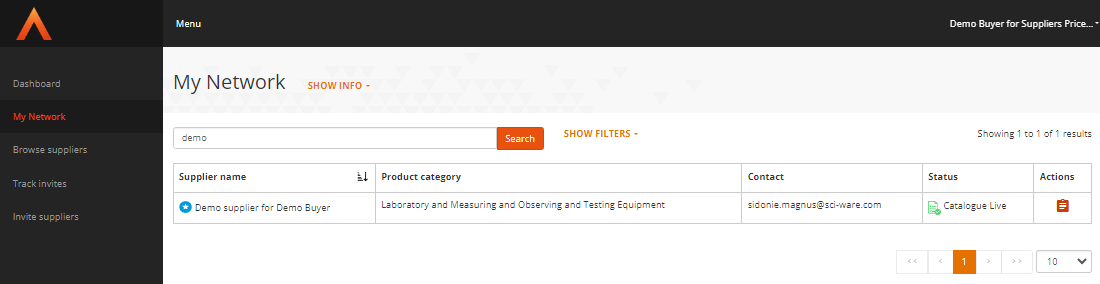
The search mechanism is the same on both tabs, simply type in the name of the supplier you are looking for and click Search.
- If an entry is returned under My Network, there is already a connection in place with your organisation and this supplier, and thus no new connection is needed.
The search results should confirm the Status of the connection also (e.g. Catalogue Live). If you have any questions about this status, please contact the OneAdvanced Support team:
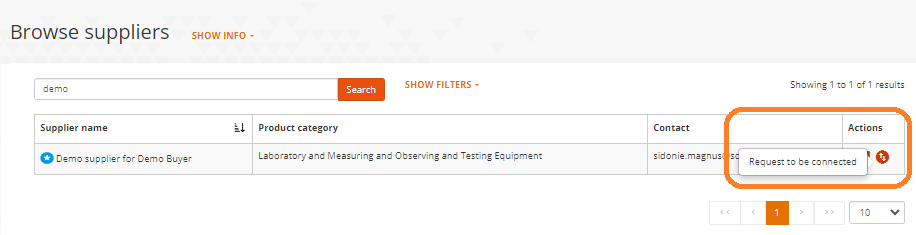
- If an entry is returned via the Browse suppliers page, and you are happy this is the correct supplier entity, please follow the process laid out further below for existing suppliers.
- If no entry is returned on either My Network or Browse suppliers, please follow the process laid out further below for new suppliers.
How to connect to an existing OneAdvanced Purchasing supplier
- Once you have located the supplier in the Browse suppliers page, click the Request to be connected button within the Actions column:
- In the pop-up box, you will need to provide the following information:
- External ID (mandatory): This is a unique identifier for the supplier in your organisation's finance system (sometimes known as Supplier ID, Supplier Code, Vendor ID, Vendor Number etc.). This is required so that we can automatically process orders and invoices.
- Company Alias: You can choose to input a supplier alias in case you know the supplier under a different name than the one the supplier has chosen for Purchasing. This information will be stored against your organisation but will not be used anywhere else.
- Site ID: Specific to Oracle finance systems only
- Contract ID: Specific to Oracle finance systems only
- VAT Exemption Text / Zero Rated Statement: If your organisation requires VAT/Tax Exemption text to be shown to a supplier as part of your Tax-Exempt POs, please include this here.
Please note that the only mandatory field is External ID. All others are optional and will be dependent on your organisation.
- Click OK.
Depending on the supplier's tier and circumstances, the following will be initiated by the system:
- Trader with less than three existing connections: An email notification will be sent directly to the supplier informing them of the connection request. As the connection is created instantaneously, the supplier can log on and commence uploading pricing for your organisation immediately upon receipt, or alternatively, you can also commence placing free-format orders with the supplier should you wish.
- Trader with more than three connections: An email notification will be sent to the Supplier Accounts Team. A member of the team will contact the supplier to initiate the connection discussions.
- Community supplier (Member or Leader): An email notification will be sent to the Supplier Accounts Team. A member of the team will contact the supplier to initiate the connection discussions.
- As the buying organisation, no further action is required by yourselves. Once a price file is received for your approval, please follow your normal processes but be aware of the following:
- Trader suppliers: Will go live immediately upon completion of the price approval process. We would recommend expecting imminent go live as soon as you complete your approval, so please bear that in mind for any internal procedures you need to have aligned.
- Community suppliers: A member of our Content Team will be in touch to confirm you are happy for the catalogue to go live once the price approvals process is complete. They will also create a Marketplace News piece to go alongside the release of the catalogue.
Guidance on approving price files can be found here.
How to track the status of a newly connected supplier
As soon as the connection request is made, you can track the status of the supplier on the My Network page.
Using the search bar, locate the supplier in question. The search results should confirm the Status of the connection as one of the following:
- Pending connection
- Connected
- Pricing awaiting approval
- Catalogue Live
If you have any questions about this status, please contact the OneAdvanced Support team.
How to invite a new supplier to join the OneAdvanced Purchasing supplier network
Once you have confirmed that a supplier does not exist on the OneAdvanced Purchasing supplier network, please follow the below steps to invite them to sign up.
- From the SIM Dashboard, there are multiple locations from where you can invite a supplier. They all follow the same requirements:
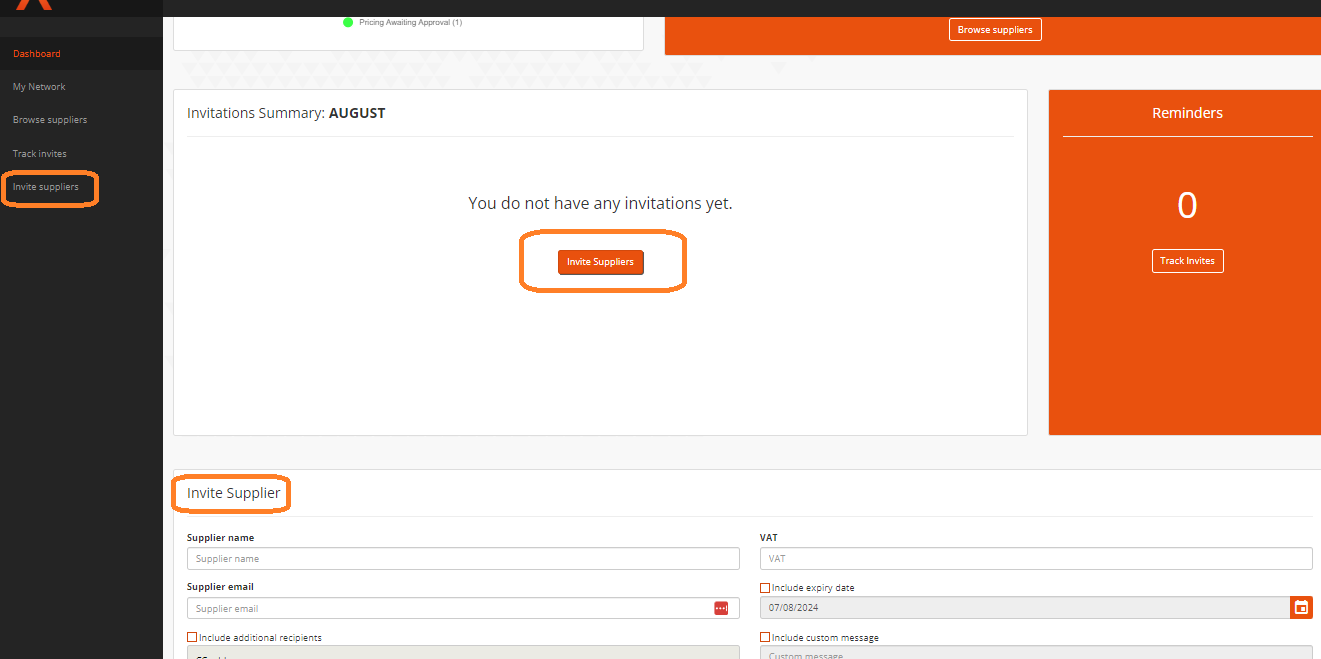
- Click the Invite suppliers page from the left hand side menu
- On the main dashboard page, in the Invitations Summary panel, click the Invite Suppliers button
- Scroll to the bottom of the dashboard to the Invite Supplier box and complete the invite from there
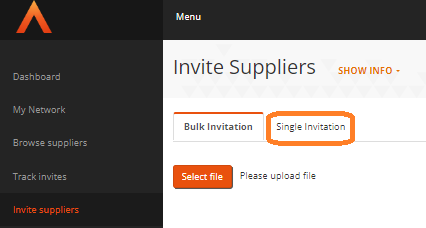
- If you have chosen option A or B, from within the Invite Suppliers page, choose the Single Invitation tab
- Complete the following fields:
- Supplier name: Input the name of the supplier you wish to invite. The system will complete a check and offer suggestions in case they already exist on the system:
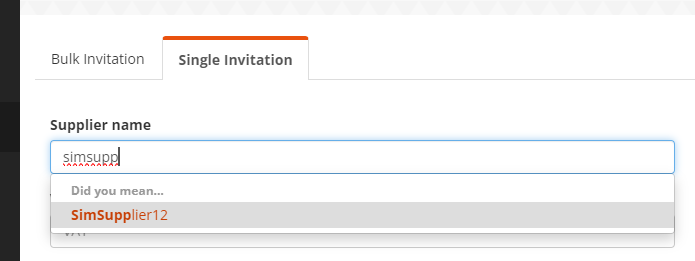
If your intended supplier appears in the dropdown, select them and the system will pre-populate the remaining fields. You can then click the Connect with supplier button that appears.- VAT (optional): If you know the supplier's VAT number please input it here. This again allows the system to double check that the supplier isn't already registered on our network (for example under a different name).
- Supplier email: input the email address for where the invitation should be sent
- Additional tick boxes:
- Include additional recipients: input any additional email addresses if required, up to a maximum of 10.
- Include expiry date: If you require the invitation to expire on a specific date, input the date here. If no date is specified, the invite will automatically expire after the system has chased the supplier three times.
- Include custom message: If you wish to add a personalised message to the invite, you can do so here.
- Supplier name: Input the name of the supplier you wish to invite. The system will complete a check and offer suggestions in case they already exist on the system:
- Click Invite to register. This will automatically send an invitation email to the supplier containing a link for them to register to the system.
- As soon as the supplier completes their profile, you will receive an email notification to confirm that they are ready for connection. Upon receiving this email, please log into your Purchasing account and complete the steps outlined in the How to connect to an existing OneAdvanced Purchasing supplier section above.
How to track the status of a newly invited supplier
The status of any invitation can be tracked via the Track invites tab.
This will show all past invitations and will contain:
- The status of the invite: has the supplier registered or did the invitation expire
- Who from within your organisation sent the invite
- Who was the recipient of the invite
It is also possible to review changes in their statuses, trigger reminders to ensure successful supplier engagement or cancel invitations previously sent.

From this page you can also use the Actions column to complete the following:
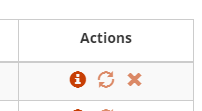
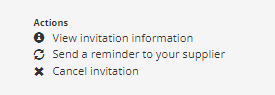
View invite information: This includes a log of any action that has taken place on the invite, including any reminder emails that the system or your organisation have sent
- Send a reminder to your supplier: Click this to trigger a reminder notification email
- Cancel Invite: This will cancel the invitation